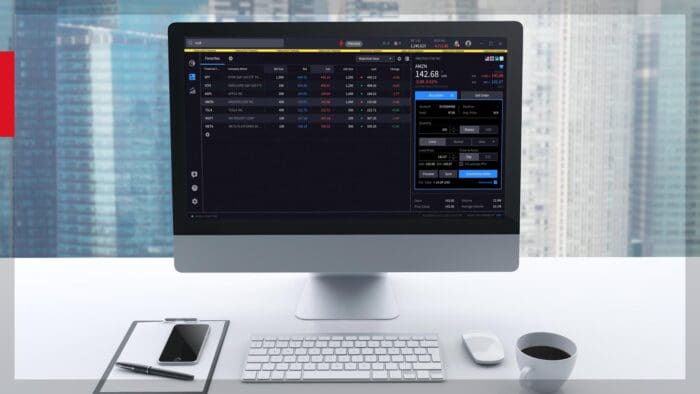
For those of you following along in TWS, this video aims show you how to add common contracts to the display.
We will explain contract codes and months to help you quickly build them. We’ll demonstrate how to add one or a strip of futures contracts to your display. For spread traders and for those wanting to roll a contract from one expiration to the next, we’ll show you how to create a spread between two contracts.
In TWS, futures symbols are specific to the exchange-listed contract, month and year of the product you are looking at. Yet there are several ways to arrive at displaying the information.
If you know the symbol of the contract you want to add to the display, type it into a row on your monitor.
In this case I’ll use GC for gold.
- By entering GC, the contract selection box displays. Locate the exchange in which this contract trades Select ‘Futures’ and pick the relevant month.
- If the month you want is not displayed, click the ‘more’ button to find the relevant contract.
- You will notice that there are a few nearby contracts listed along with the so-called ‘continuous’ contract.
- The continuous contract refers to the contract where most investors are positioned and where open interest is concentrated.
- TWS will update as positions are rolled into the next expiry.
To quickly add a specific expiration for a contract into TWS, you will need the product code and the symbol used to denote the month along with the final digit of the year in which the contract expires.
For example, if I specifically wanted to display the December 2021 contract, we know that GC is the TWS symbol for gold and knowing that Z represents December we’d enter GCZ1, where 1 represents 2021. Should you want the December 2022 contract, you’d enter GCZ2.
Here’s a list of the futures month codes:
January F
February G
March H
April J
May K
June M
July N
August Q
September U
October V
November X
December Z
To display multiple contract months at the same time, start with the TWS symbol, locate the exchange and select Futures.
- Select More and hold the control key down as you highlight the expirations you wish to add to your display. This is known as a futures strip.
You can add all of your required futures contracts to a monitor page this way.
To learn more about each contract, or to find out its trading hours and so on:
- click-right on the symbol and from the Financial Instrument Info row follow the arrow to view its Description.
- You will be able to see the exchange information, contract, expiration and last trading details as well as trading hours.
- Click through the Calendar hyperlink to get a visual on trading hours across the week.
To display Futures related data in your monitor:
- right-click on any column header and choose Manage Columns to display the Configuration menu.
- From the Available Columns to the right of the display, locate and expand the Futures grouping and make your selections.
- Note that you should choose other column values from Financial Instrument Descriptions, Prices and High/Low/Volume/History sections as usual.
If you wish to add a spread between two contracts, you can use the convention of subtracting one contract from another.
- For example, for gold contracts, to add the spread between the December 2021 and June 2022 expirations type GCZ1-GCM2 and hit enter.
- You will see the bid/ask prices and the chart display the recent history of the spread.
- Alternatively, enter GC in the Monitor, locate futures and select Combinations (Smart) and from the Combo Selection Tool, build the correct strategy.
There is a lot of information in this video to help you locate futures contract details and symbols and how to add them to your Monitor page.
To conclude this futures module –
- Futures are extremely efficient and low-cost investment opportunities
- Provide hedging and speculation without ever owning the underlying
- Ongoing transformation to electronic markets continues to lower trading costs


Do you have depth of market?
Hello, thank you for asking. Yes, IBKR provides depth of book (Level 2) market data. To add it, please view the instructions provided in this FAQ: https://www.interactivebrokers.com/faq?id=34484122
We hope this helps!