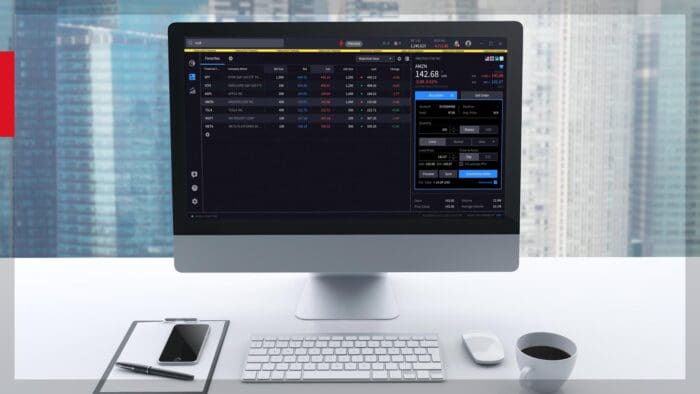
From a Watchlist on the Monitor tab, click the underlying symbol you wish to create your covered put trade for. So long as your tabs are part of the same Windows Group, the underlying will appear in the Order Entry panel.
To the right of the Order Entry panel select Strategy Builder from the dropdown menu.
You will see the Option Chain window populate the screen. To the lower left, ensure that the Strategy Builder button is set to On. If you see Off, just click the button to activate.
To create a covered put, first the put option must be identified before the stock leg is added.
Strategy Builder displays option chains at the top of the page with call options to the left and put options to the right of the central strike column. You will see the price and daily change of the underlying to the upper right of the window. Above the Call area you will see tabs for different expirations. Click a tab or to locate additional expiration dates, click on the More tab.
Above the Put area you will see a dropdown menu for Strike prices. Access this menu to change or refine the number of strike prices displayed on the page.
Hovering the cursor above any bid price displays a red background. This indicates that by clicking on the field would create an order to sell that option. Hovering above any ask price displays a blue background indicating that clicking on that field would create an order to buy that option.
When a single strike is clicked upon, the selected leg then populates the Strategy builder panel beneath the option chains window, where it can be manipulated before the order is submitted.
Locate the desired option strike you want to transact.
Click on the relevant price field – and specifically the bid price of the put option – to move the leg down to the Strategy Builder.
To include the underlying stock, expand the plus symbol in the Order Entry panel beneath. Locate Stock Leg and click on the field. The underlying is added to the Strategy Builder display beneath the short put option leg. Close the Advanced display in the Order Entry panel below by clicking the red x button.
By default, a long stock position is created. Use the dropdown menu in the Action column to change to ‘sell’ from ‘buy’.
Now the two pieces of the covered put are displayed and below the bid/ask column you will see the price quote for the combination. This is the price of the stock leg plus the premium received for the put option.
Use the Order Entry panel at the bottom of the page to create the order. Define the quantity of options to trade. Generally, one option contract covers 100 shares of stock. By selecting a number of options, the software will compute the correct number of underlying shares to transact. Choose the right order type from the dropdown menu. If using a Limit price, choose the value by clicking in the input field or simply typing in the value. Select from the Time-in-Force dropdown whether this is a Day or GTC order. Your order is ready to review. Click the Submit button to generate an Order Confirmation. When you have reviewed the details, click Transmit.
The order is sent for execution at the exchange and will appear in the Activity panel to the lower left of Mosaic. To pause or interact with an active order click on it in the Activity panel and make the relevant choice.


👍👍👍